The WordPress Loop is a core component of WordPress, responsible for displaying content dynamically. Mastering the Loop is key for developers and website owners who want to build engaging, customizable, and SEO-friendly websites. Whether you’re a beginner or experienced in Custom WordPress Development, understanding the Loop opens up countless possibilities.
What Is the WordPress Loop?
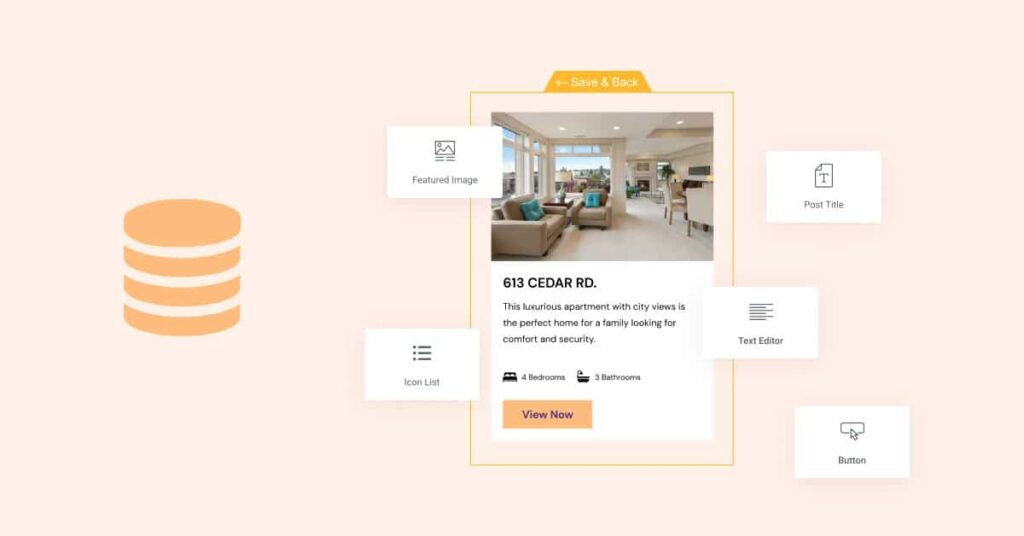
The WordPress Loop is the mechanism that queries the WordPress database to fetch and display posts. It forms the backbone of content rendering, appearing in various templates across your site. Grasping how it works is essential for anyone looking to build or customize a theme effectively.
Think of the Loop as the system that dynamically outputs posts based on your theme’s query. The Loop makes it easy to present content across your site, from the homepage to category pages. If you want to fine-tune what your visitors see, you need to understand this fundamental concept.
Understanding the Basics of the WordPress Loop
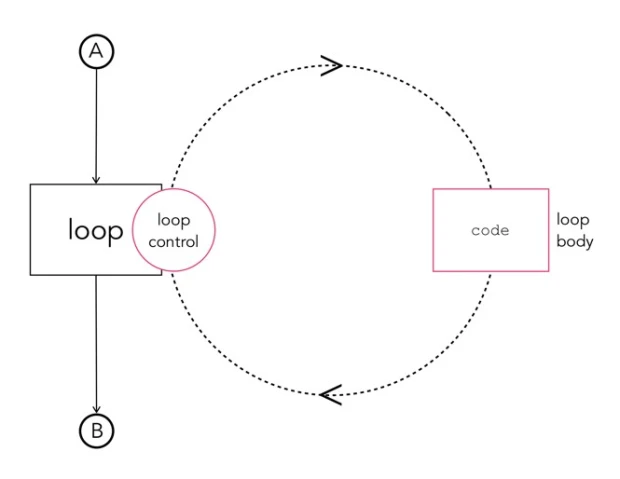
At a basic level, the Loop is composed of three main steps: querying the database, executing the Loop, and outputting content. The database query checks for posts, the Loop cycles through the results, and the content functions display the posts.
The Loop’s integration with your theme is straightforward. WordPress uses a template hierarchy to decide which templates to load for specific pages. Tags like the_title() and the_content() handle the output, making the Loop easy to work with once you understand its structure.
For theme developers, it’s crucial to know where the Loop is defined. Files like index.php, single.php, and archive.php often contain variations of the Loop. Being familiar with these file locations helps streamline your customization efforts.
How the WordPress Loop Works
The WordPress Loop operates in a simple yet powerful way. It queries the database for posts, checks if there are results, and then iterates through each post to display its content. This repetitive cycle allows WordPress to handle content dynamically, adjusting as new posts are added.
Here’s a basic example of how the Loop functions:
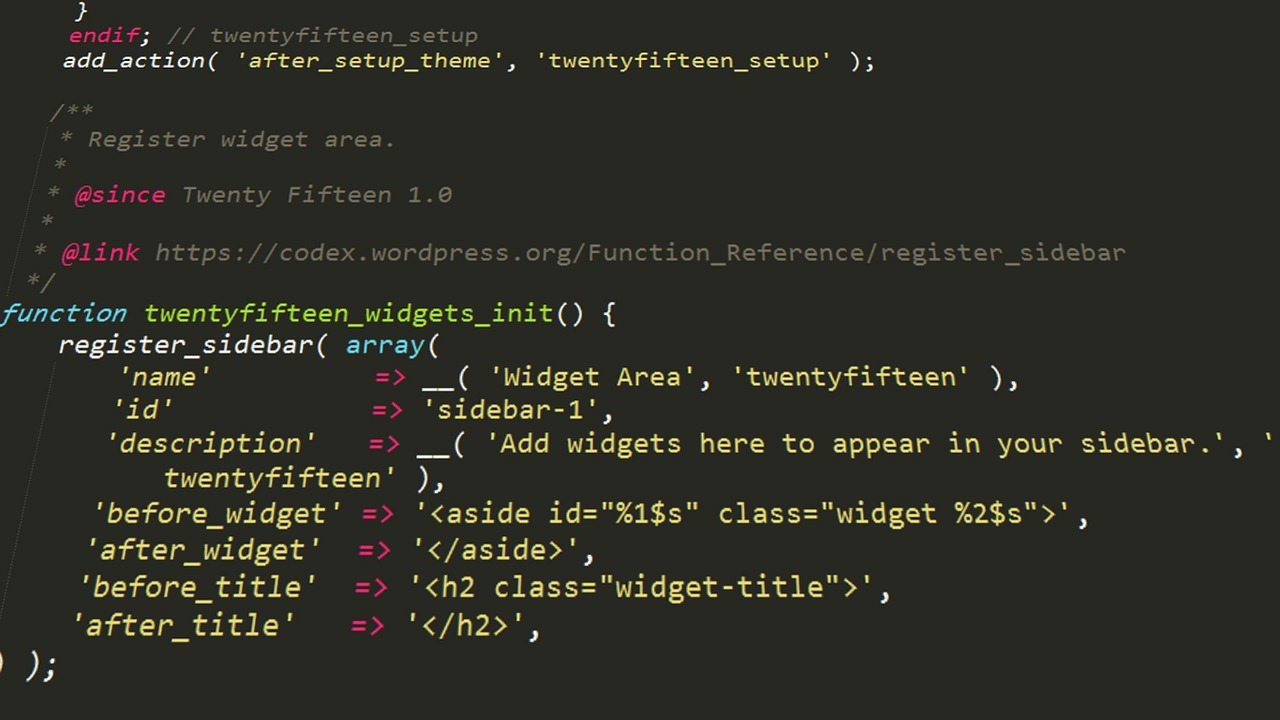
if ( have_posts() ) : while ( have_posts() ) : the_post(); the_title(); the_content(); endwhile; endif;
In this code snippet, the Loop checks if there are posts (have_posts()), retrieves each post (the_post()), and outputs the title and content. Customizing this setup lets you control what content appears and how it’s presented. Just remember to reset post data using wp_reset_postdata() when working with multiple Loops.
Real-Life Examples and Use Cases
Understanding the theory behind the WordPress Loop is one thing, but seeing it in action solidifies your grasp of how it works. Here are some practical examples to inspire your own projects:
- Example 1: Custom Blog Layout
A digital marketing agency wanted to highlight featured blog posts separately from the latest ones. By using a customized Loop with conditional logic, they displayed featured posts in a hero section and the latest posts below, creating a more engaging layout. - Example 2: Event Listings
A community website needed an event listing page that showed upcoming events first. They used WP_Query to sort events by date, making sure users could easily find relevant information. This improved user experience and increased event registrations. - Example 3: Custom Post Type Showcase
A photographer’s website featured a custom post type for portfolios. By integrating these into the Loop, they displayed photo galleries categorized by theme, making navigation seamless and visually appealing.
Customizing the WordPress Loop for Your Theme
Customizing the Loop enhances your site’s user experience and gives you more control over content. For instance, you might want to display featured posts differently from regular ones or change the order of posts based on specific criteria.
Best Practices for Beginners
If you’re new to modifying the Loop, start simple. Use a child theme to keep your customizations safe from theme updates. Always back up your site before making significant changes, and consider testing in a staging environment to prevent live site issues.
Additionally, be mindful of common pitfalls. Overcomplicating your queries or forgetting to reset post data can lead to errors or performance issues. Keep your code clean and organized for easier troubleshooting.
Using WP_Query to Modify the WordPress Loop
WP_Query is a powerful class that provides greater control over database queries, making it perfect for creating custom Loops. With WP_Query, you can fetch content based on specific parameters, like custom fields or taxonomies, giving you flexibility that the default Loop doesn’t offer.
For example, to display posts from the “news” category, you can use:
$query = new WP_Query( array( 'category_name' => 'news' ) ); if ( $query->have_posts() ) : while ( $query->have_posts() ) : $query->the_post(); the_title(); endwhile; wp_reset_postdata(); endif;
Mind Your Business Newsletter
Business news shouldn’t put you to sleep. Each week, we deliver the stories you actually need to know—served with a fresh, lively twist that keeps you on your toes. Stay informed, stay relevant, and see how industry insights can propel your bottom line.
Subscribe to Mind Your Business
WP_Query is incredibly versatile. You can use it to run queries for custom post types, filter content by meta values, or even create paginated content. Debugging tools like Query Monitor can help ensure your queries are optimized and running smoothly.
How to Use Custom Post Types in the WordPress Loop
Custom Post Types expand the content you can manage in WordPress. Instead of sticking to default options like posts and pages, you can create custom types for portfolios, testimonials, or events. Integrating these into the Loop makes your site far more versatile.
To add Custom Post Types to your Loop, use register_post_type(). Once registered, modify the Loop to include these types. For example, WP_Query can fetch only your custom content, making it simple to manage a diverse array of information on your site.
SEO Tips for Custom Post Types
Don’t forget about SEO when working with Custom Post Types. Make sure each type is optimized for search engines by using custom permalinks and unique meta descriptions. Implement schema markup to improve search visibility and add value for search engines and users.
Adding Conditional Logic to the WordPress Loop
Conditional Logic helps tailor the Loop to different scenarios, making your site smarter and more relevant. Functions like is_page(), is_category(), and is_author() let you show or hide content based on specific conditions.
For example, use is_home() to check if the current page is the homepage and then customize the Loop accordingly. Combining these conditions can handle complex scenarios, such as displaying different content to logged-in users versus guests.
Performance Considerations
While conditional logic adds flexibility, excessive or inefficient logic can slow down your site. Always test changes to ensure they don’t negatively impact load times. Use caching strategies to maintain site speed without compromising functionality.
How to Display Multiple Loops on One Page
Displaying multiple Loops can enhance your site by organizing content into distinct sections, like featured posts, recent news, or event listings. Each Loop can be tailored using WP_Query, making it easy to manage different types of content.
When implementing multiple Loops, be cautious about conflicts. Using wp_reset_postdata() after each Loop ensures WordPress continues functioning correctly. If you’re displaying custom fields or post types, structuring your Loops effectively can make your content more accessible and engaging.
Best Practices for Multiple Loops
- Keep It Simple: Only use multiple Loops if they add value.
- Optimize Your Queries: Reduce the load on your database with efficient queries.
- Test and Debug: Ensure that each Loop functions as expected and doesn’t affect performance.
Overriding the Default WordPress Loop in a Template
Overriding the default WordPress Loop allows you to customize content display at the template level. The WordPress template hierarchy determines which template file is loaded, and knowing how to modify it is a valuable skill.
To override the Loop, create custom templates or modify existing ones like single.php or archive.php. For example, changing the Loop in category.php can give each category a unique layout. Use child themes to ensure your modifications are update-proof.
Tips for Template Overrides
- Stay Organized: Comment your code for easy understanding.
- Use Conditional Logic: Make your template versatile by adding conditions.
- Focus on User Experience: Customize layouts in a way that enhances readability and engagement.

Optimizing the WordPress Loop for Performance
Optimizing the WordPress Loop is crucial for maintaining a fast and efficient website. Slow Loops can negatively impact user experience and SEO, so streamlining your code is essential.
Key Optimization Techniques
- Reduce Database Queries: Use caching to minimize repeated queries.
- Lazy Loading: Implement lazy loading for images to improve page speed.
- Code Efficiency: Avoid code repetition and optimize your functions.
Always test your Loop optimizations. Use performance tools to see how changes affect load time, and adjust as needed. An optimized Loop ensures your site is both responsive and SEO-friendly.
Want a high-performance site? Explore our Web Design services for expert solutions.
Wrapping Up Customizing the WordPress Loop
Mastering the WordPress Loop is an essential skill for creating dynamic, engaging, and high-performing websites. By customizing and optimizing the Loop, you can deliver a superior user experience and make your site stand out. Whether you’re using WP_Query for custom queries or adding conditional logic for personalized content, the possibilities are endless.
